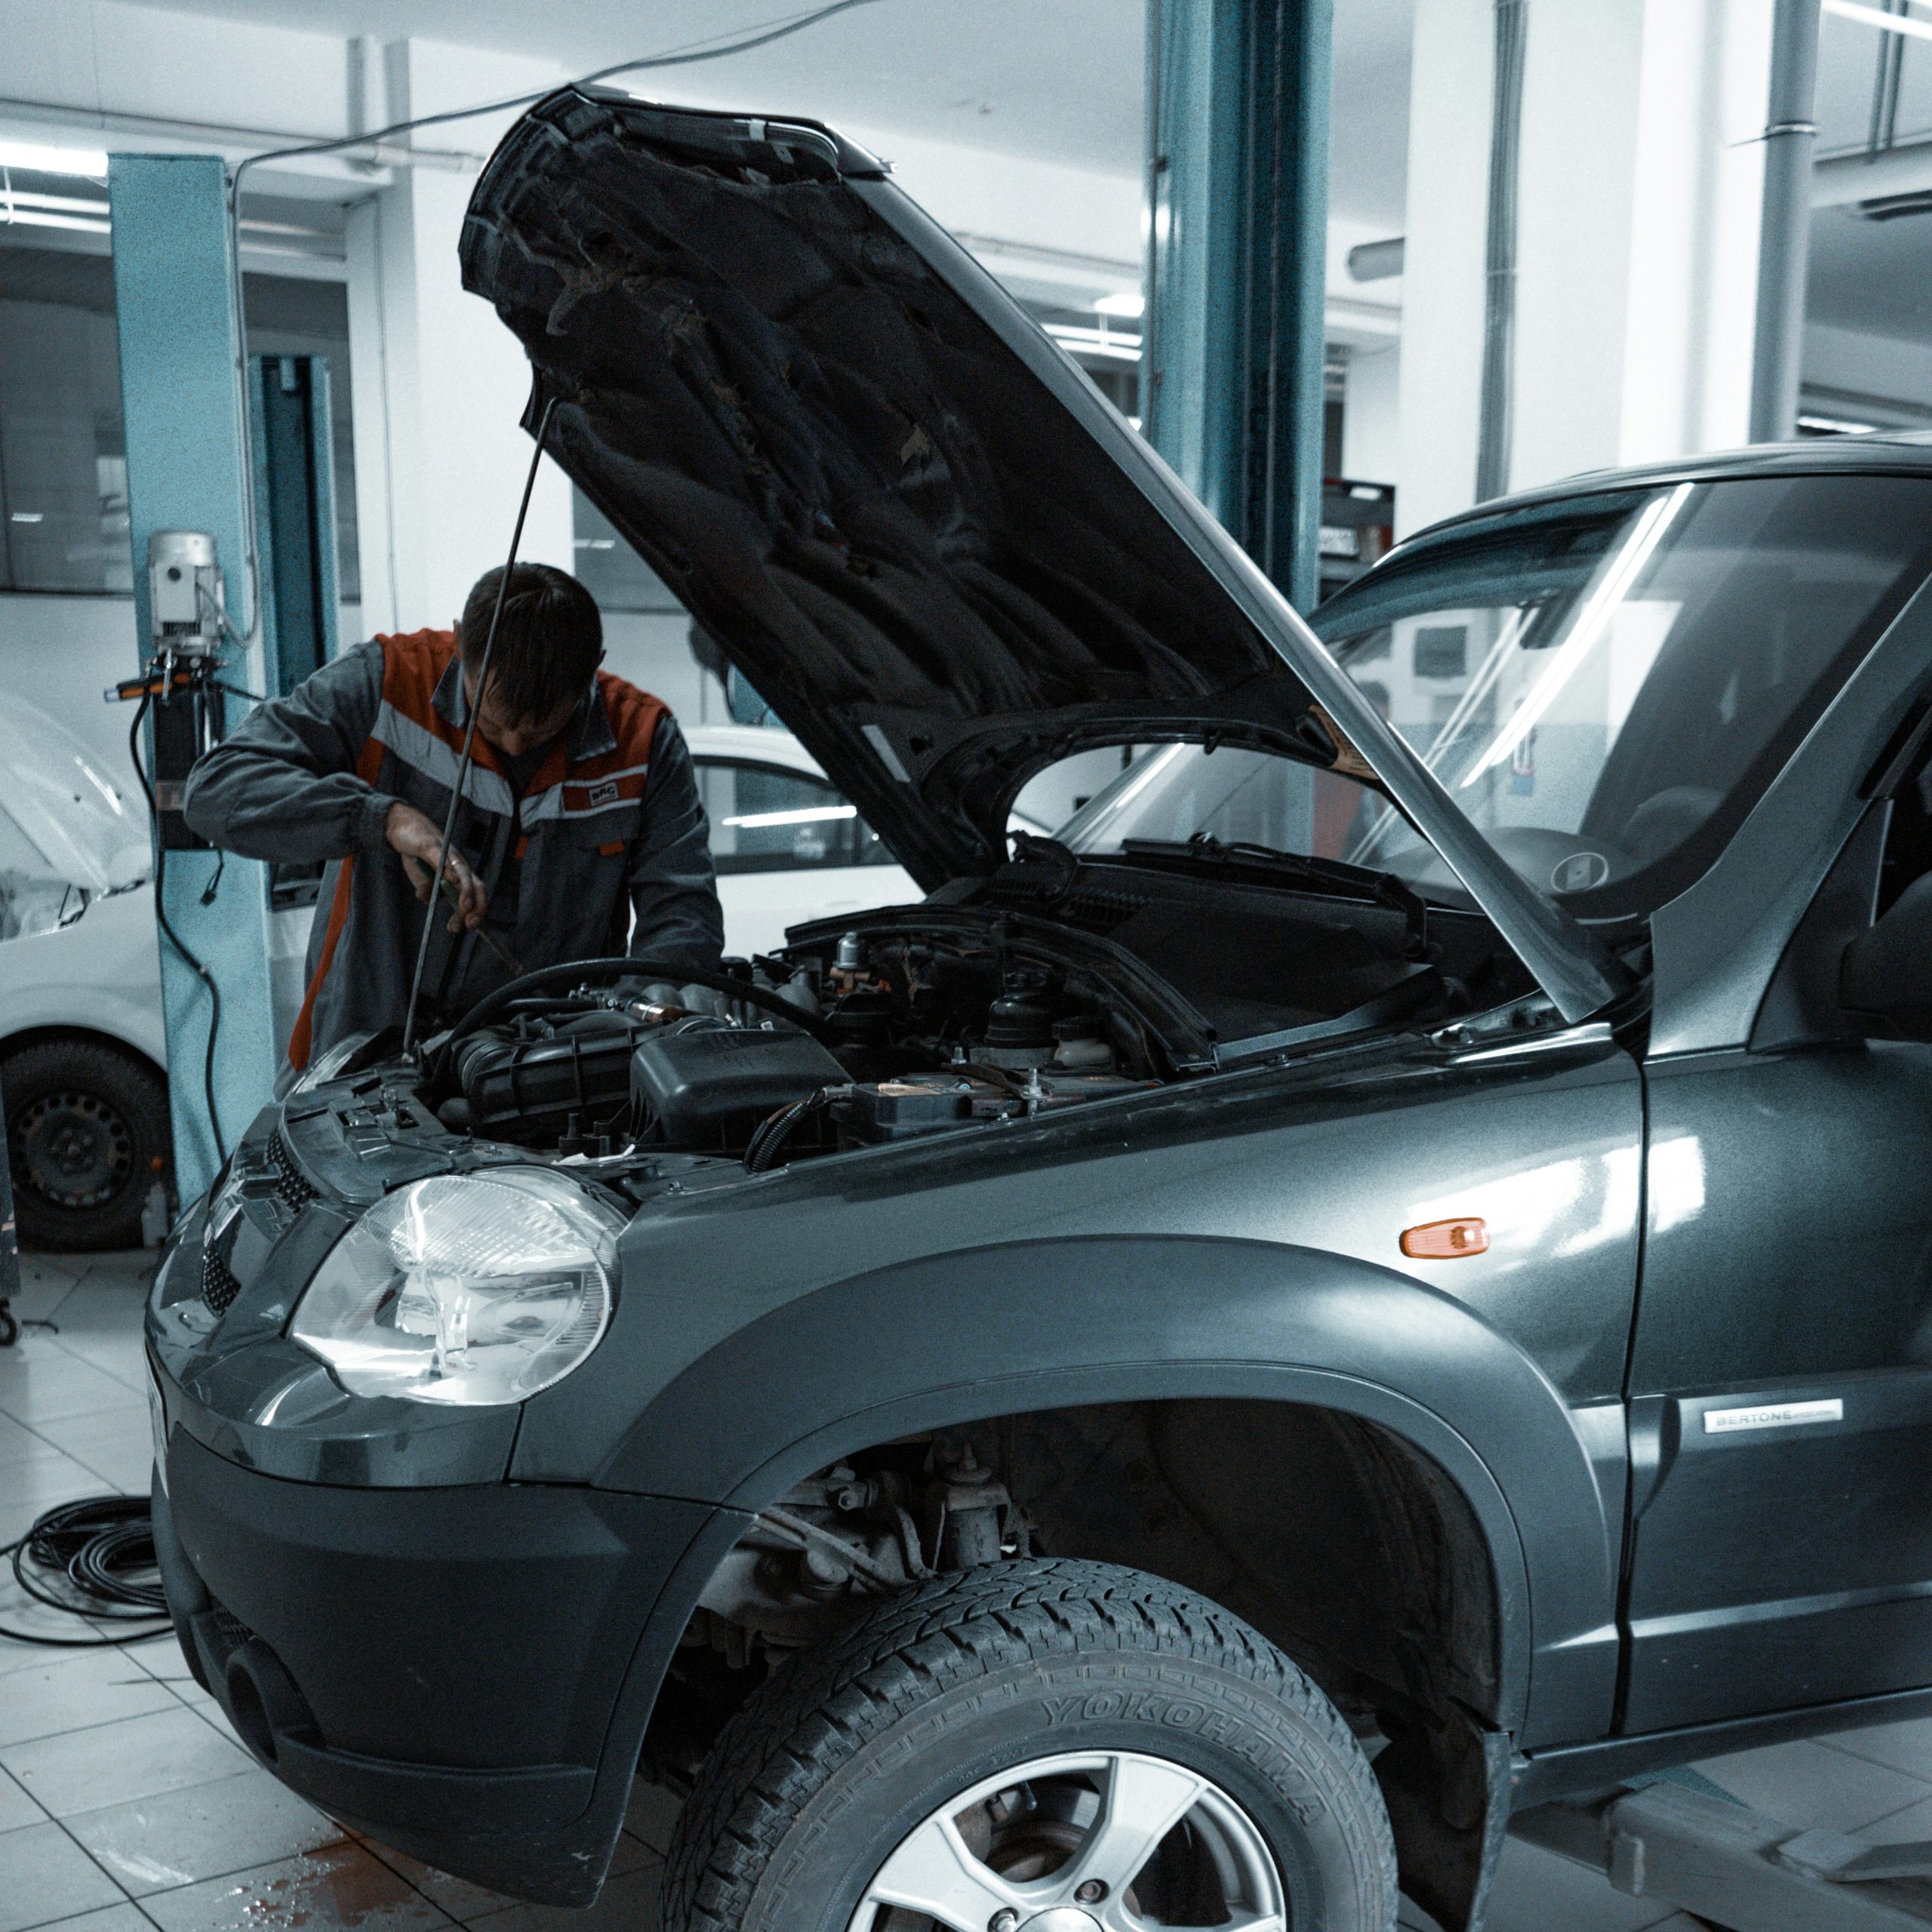
In the realm of automotive repair, diagnosing and repairing faults is both an art and a science. From mysterious engine noises to perplexing dashboard warning lights, every symptom offers a clue to the underlying issue. Yet, navigating this diagnostic journey requires more than just intuition or guesswork—it demands a systematic approach grounded in knowledge, analysis, and careful testing.
But diagnosing automotive issues is not without its pitfalls. Despite the availability of advanced technology and diagnostic tools, many technicians and enthusiasts alike fall prey to common mistakes—skipping crucial steps, relying too heavily on assumptions, or failing to consider all available evidence.
This blog introduces the basic diagnostic process and follows on with some of the basic mistakes, before closing with a worked example. Future blogs will delve further into the process by providing tips and tricks to improve your diagnostic skills. Hope you enjoy!
The basic process
The basic process is quite simple. Here it is:
- Collect information about the fault. What are the symptoms? When do they occur? Are they related to another variable like engine temperature or road speed?
- Confirm the fault. Verify the fault exists as described. This can involve road testing the vehicle, say to identify a strange noise; visual confirmation, for say an engine light or basic testing for say a lighting fault.
- Make sure you understand the system you are diagnosing. Do you know how it works? Do you know how it interacts with other components in the vehicle? If not, find out before you go any further.
- Collect more information about the fault. This could involve scanning the vehicle for fault codes, visual inspection, taking measurements etc.
- Analyse the problem and develop a theory. What is the possible cause or causes of the problem.
- Develop a test plan. And then run your tests to confirm or refute each theory. If your tests confirm the fault, move onto the next step. If they don’t, go back to step four.
- Carry out the repair.
- Verify the repair fixed the fault. If so, congratulations! If not (it happens), go back to step one.

The basic mistakes
- Most people, including professional technicians, don’t bother following the process. They make assumptions about how the system works. They don’t bother to analyse the problem or develop a test plan. They jump from step two, straight to step seven and wonder why the repair didn’t fix the fault.
- The same symptoms do not equal the same cause. It’s always tempting to assume that if only you can find someone who has experienced the same symptoms, you can just carry out the same repair to fix the fault. Not so! Each diagnosis is unique. Knowledge of prior fixes is useful for developing your test plan, but it’s not a shortcut from step four to step seven.
- Diagnostic trouble codes (DTCs) provide a starting point (see step four above). Not a repair solution. Consider DTC P0335 crankshaft position sensor. The most likely cause is a faulty sensor. But it could also be a wiring fault, an ECU fault or even a faulty tone wheel. These possibilities all need to be considered as part of your diagnosis.
- Opinions don’t count. Only facts. Unfortunately, automotive diagnostics is full of “experts” with lots of opinions, but very little knowledge. If you are tempted to rely on someone’s opinion, ask yourself the following:
- Do they understand the fault you are faced with?
- Do they have a reasonable understanding of the system you are diagnosing?
- Do they have a plausible theory for the possible causes?
- Can they offer testing suggestions? Or are they just offering repair solutions?
- Failure to collect and consider all the evidence. People will often latch onto one symptom and ignore other evidence that is usually readily available. This leads to test and repair solutions that would never have been considered if they were properly tested against all the evidence. For example, another workshop recently compression tested a four-cylinder diesel engine and found low compression in #4. The recommended repair was a replacement engine. But when we checked the vehicle, it idled smoothly on all four cylinders. How is this possible if #4 has low compression? The answer was a sticking throttle plate restricting air flow. The restricted air flow caused the low compression reading, not an internal engine failure like a hole #4 piston. The repair was to simply clean away the carbon build-up around the throttle plate.
A worked example
Here’s a recent example of a 2006 Toyota Prius with an inverter issue. Let’s work through it step by step.
- Information collection. The customer advised he was getting warning lights on the dashboard and loss of power when driving on the motorway. Fault went away after a while.
- Fault verification: We road tested the vehicle but did not detect any issues on the test. But as this was a fault that brought up warning lights on the dash, a DTC will most likely be stored in the vehicle. A scan for fault codes returned P0A93 inverter cooling system performance. So now we know we have an intermittent fault in the inverter cooling system.
- System understanding: A visual inspection confirmed how the inverter cooling system works. There is a dedicated radiator and header tank. Coolant is circulated by an electric pump. Coolant hoses distribute coolant to the inverter and motor/generators and back to the radiator. A check with the scan tool confirmed that there are temperature sensors on the invertor and motor/generators, and read-outs are available for these.
- Information collection: This mostly involved visual inspection. Confirmed that coolant level is OK. There were no visible leaks. Radiator appeared to be in good condition. We attempted to actuate the coolant pump with the scan tool but could not get a response. So, at this stage we’ve narrowed it down to the coolant pump and/or its control system.
- Analysis and theory development. Airflow is probably enough to cool the inverter during light driving. But under heavier loads, like motorway driving the inverter overheats if the coolant pump isn’t working. This fits with the available evidence. So, our theory is that there is a failure in either the coolant pump or its control circuit.
- Test plan: We unplugged the electrical connector to the pump and ran three tests:
- Checked for power and earth at the harness side of the connector. Found there was battery voltage and earth available at ignition on. So, most likely not a circuit fault.
- Checked the resistance across the pump terminals and found very high resistance, indicating a failed pump.
- Ran an independent power supply to the pump and it still wouldn’t work, confirming a pump failure.
- The repair: Replaced the inverter coolant pump.
- Verify the repair. Turned on the ignition and confirmed the replacement pump was running by grabbing the pump, feeling the vibration and observing the coolant flow at the header tank.
There you go! Hope you enjoyed our blog.